Out of this world! 3D Rocket Box Tutorial


A few weeks ago, we released a cute little rocket box in the Silhouette Online Store. There were a few glitches, but it is now back! I'd love to take credit for it, but it was mostly all Mike's creation. I just love it! I guess to make a cool boy box, it really does take a guy.

For the tutorial, we asked the amazing Sarah Traub to once again work her magic in video tutorials. She did not disappoint. I especially love the little clip at the end! You'll know what I mean when you see it.
So without further adieu, here is Sarah's Tutorial of the 3D Rocket Box from Snapdragon Snippets!

3D ROCKET BOX TUTORIAL 
by Sarah Traub

The digital die cut for this file can be found in the Silhouette Online Store in .studio form
or at www.snapdragonsnippets.com in .svg form

3D woven baskets tutorial

COMING SOON
UNDER CONSTRUCTION


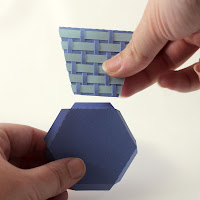
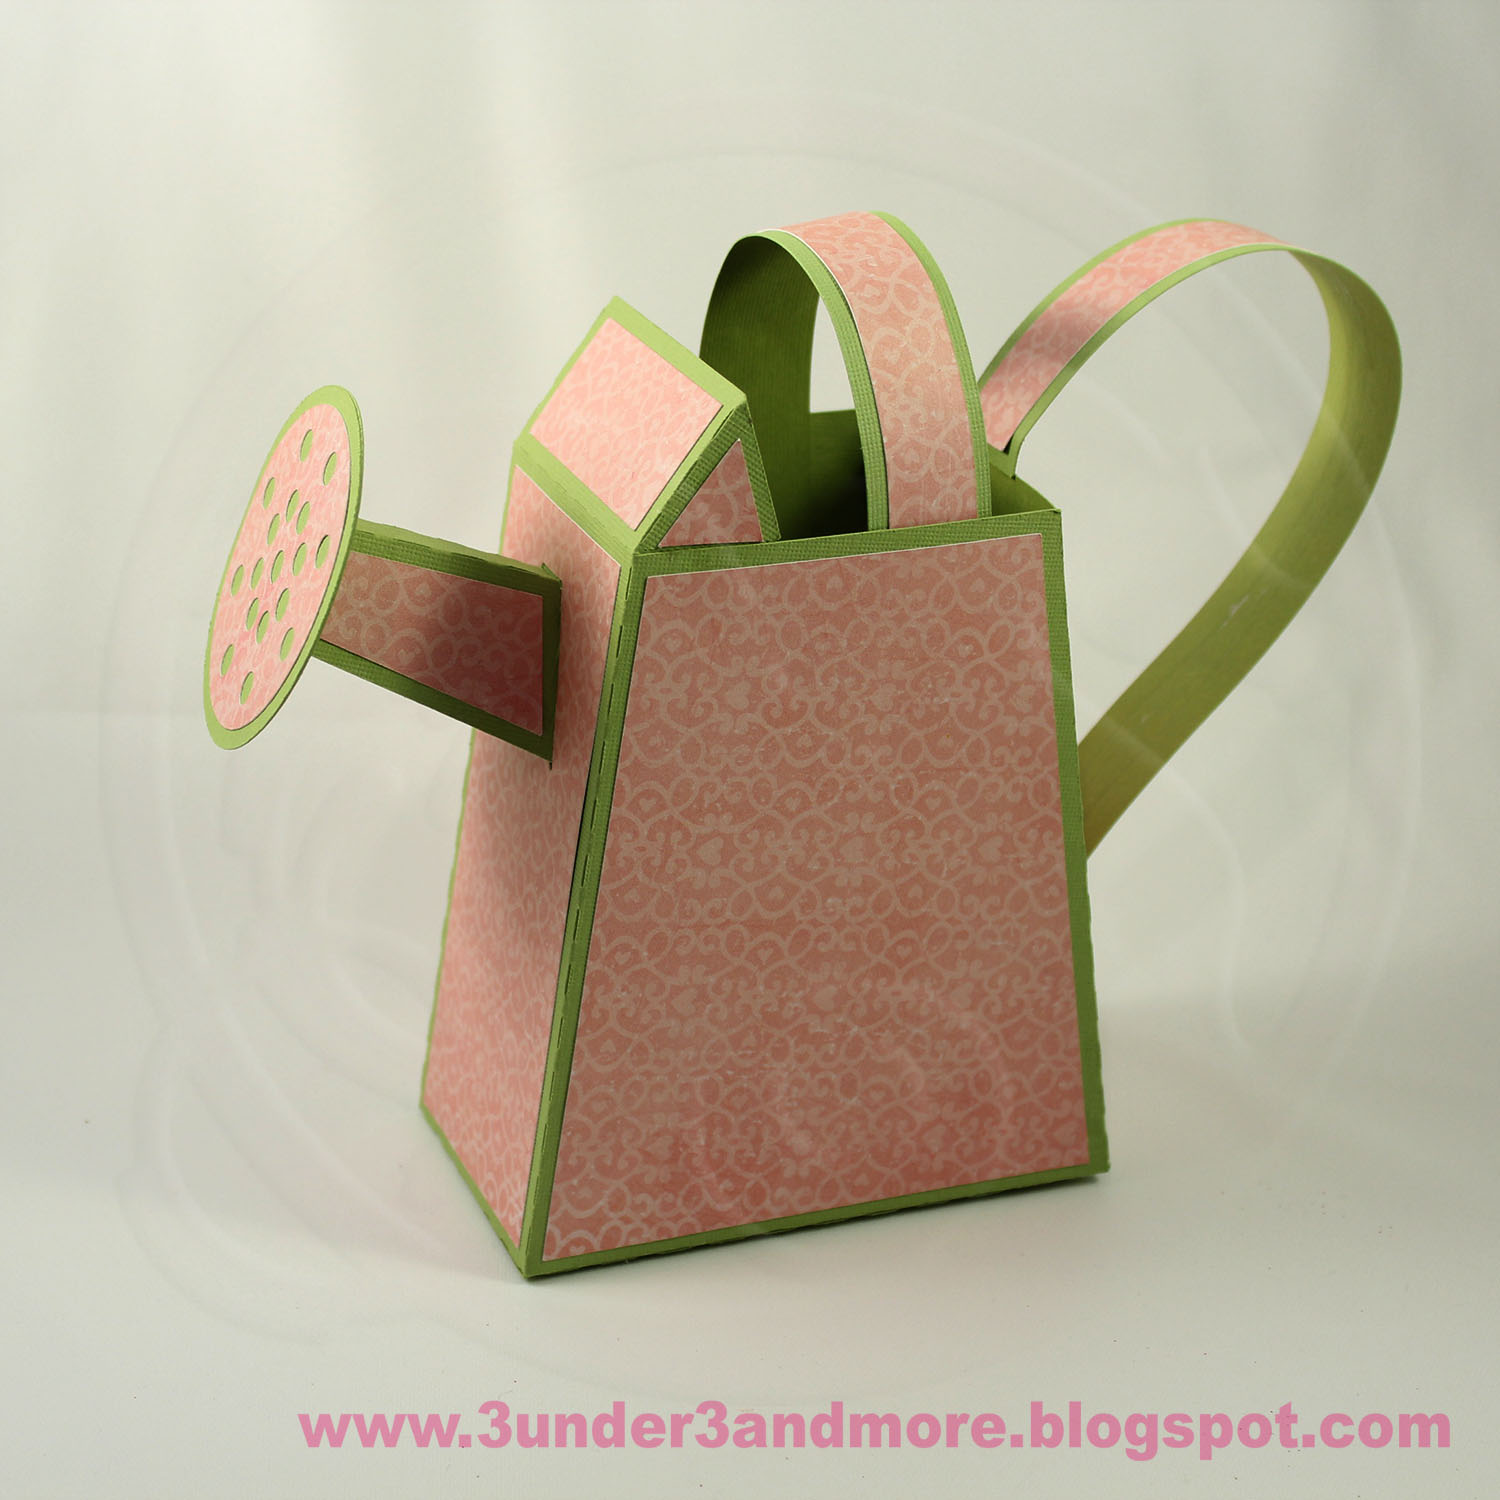
This tutorial shows how to assemble the woven 3D baskets from Snapdragon Snippets. The digital dies can be found in the Silhouette online store in .studio form or at www.snapdragonsnippets.com in .svg form.

In this tutorial I'll walk you through the single handled basket, but the double handled basket is basically the same.
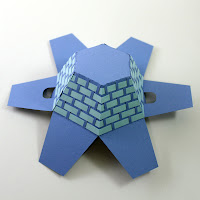
This is how I set up my cut files. The basket body I cut from a dark blue. This includes the 6 side pieces (squished hexagons), the handle strip (rectangle), and the base of the basket (hexagon with 6 tabs).
 Weaving the sides

Choose one of the squished hexagons. Locate the side with all the slashes in it. 
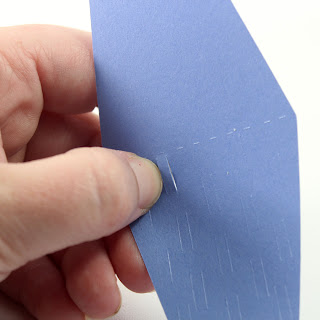
To weave the strips through easier, I pushed the vertical "threads" out a little.

When weaving, I suggest not removing the strips from your mat. The reason, that's a lot of little strips and it could get really confusing which one to use next if they're just in a big pile. I keep them on the mat and take one strip off at a time. 

Take the largest strip of the first set of strips. Weave it through the two slits closest to the middle as shown below. 


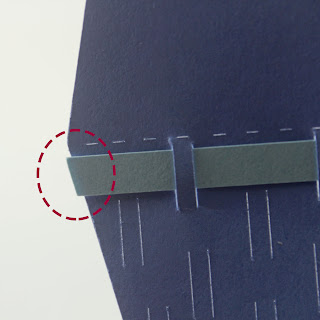
When I created this die cut, I purposely made it to hang slightly hang over the edge on both sides to cover the seems between each section. If this bugs you, trim it down. 
Take the next longest strip of the first set and weave it through the next three "threads" down as shown below.


Repeat all the way down. When you're inserting the last strip, be cautious. I ripped through the bottom of one of my sections.

Once you've weaved all six sections, crease each one in half. There are a couple different creases to make.
#1: the plain squished hexagon - just fold in half.


#2: Handled squished hexagon Single handled basket - fold in half except for middle nob. (See photos below)
Double handled basket - fold in half except for handles. 


 #3: Squished hexagon with side tabs - fold both tabs towards inside


 #4: Handled squished hexagon  - fold all tabs toward inside


3D paper watering can tutorial


This tutorial shows how to assemble the 3D Watering Can from Snapdragon Snippets. The digital die can be found in the Silhouette online store in .studio form or at www.snapdragonsnippets.com in .svg form.

The cuts shown above are the main body of the watering can.  There are other shapes in your file which are  the optional accents.

To start take the two shapes shown above and crease inwards.

Adhere the smaller rectangle to the bottom tab of the watering can sides as shown above.

Glue the sides to the base.  Using a Popsicle stick you can apply equal pressure to the tab. 

Glue up the sides to complete the box part of the watering can.

Create the spout, by bending the spout and inserting the tabs through the circle piece with the slits.
Then bend them flat.

Glue the plain circle on top of the spout assembly.

Adhere the accent shape to the spout.

IMPORTANT!Glue the front accent piece lining up the rear spout holes before connecting the spout to the can.

Adhere the rest of the accent pieces as shown above.

Insert the tabs from the spout into the front of the can and glue the tabs down.

Glue the accent piece onto the handle.  Then attach the long handle to the small  hexagon at  rear of the box as shown above.

Bend down the handle and glue the tab flat.

Fold down the tabs on the splash guard in the front into the  watering can.

Glue the accent piece to the small handle then attach the smaller handle into the watering can to form the top handle.
And you are finished! 

Related Posts with Thumbnails