
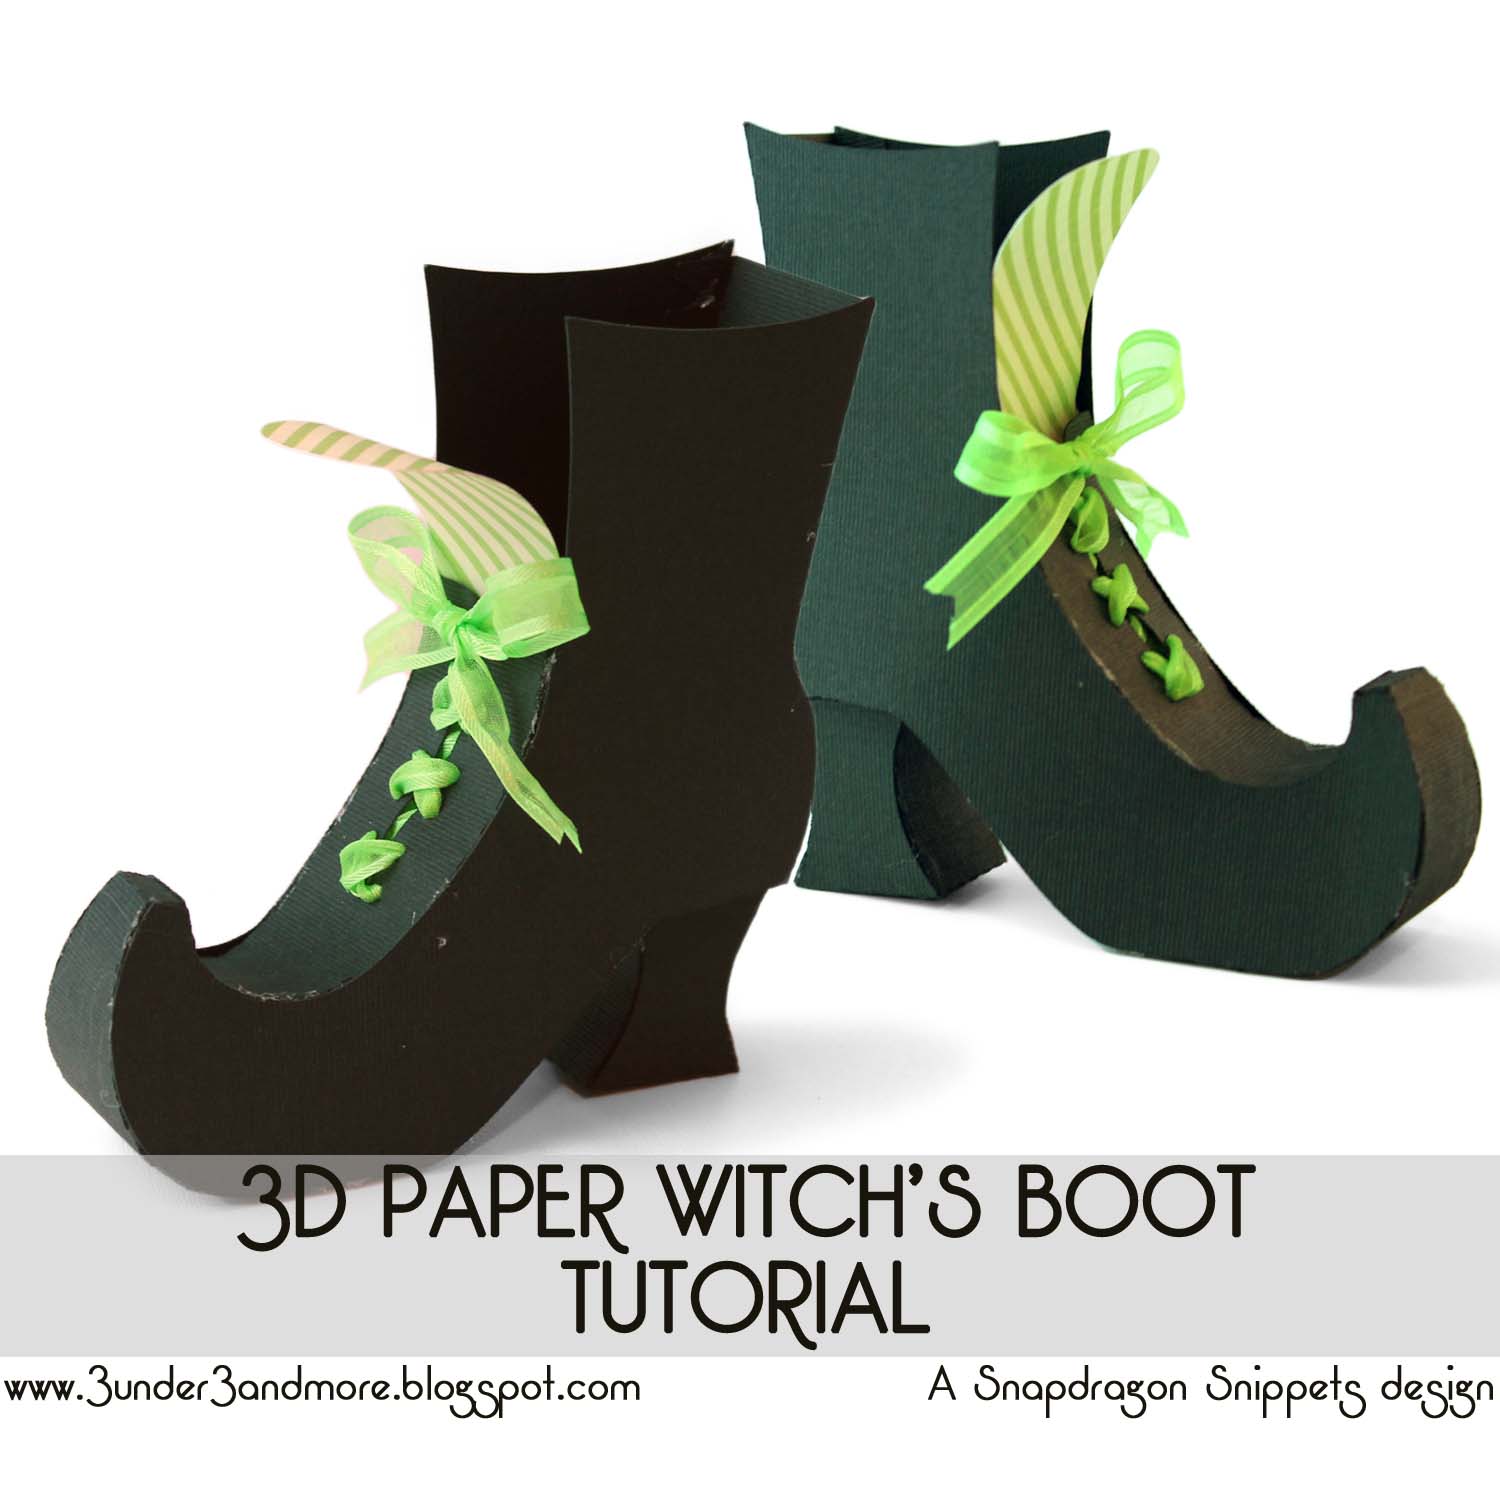
This is the first of the witches boot series by Snapdragon Snippets that will be available or already available through Silhouette America's online store. For more info about how the Silhouette die cutting machine works and where to get it, see www.silhouetteamerica.com.
To see all digital die cut designs available by Snapdragon Snippets, click HERE!
This tutorial shows some quick tips to make assembling a little easier.
To start, I usually like to prep each piece. By this, I mean fold all tabs in the correct directions, and finger curl the paper to fit around curves a little better.
Here's how I curl the back piece that fits around the heel. You can look at the final photo to get an idea of the curvature. In the photo below, the end with the tab is on the left side.

And here is how to curve the bottom of the boot:

For the heel section, fold all tabs in as shown below:

For the top section of the boot, I laced up with ribbon.

After lacing and tying the ribbon to keep it out of the way, I attached the tongue of the boot to the back as shown and curled the ends up:

Next, starting at the toe, slowly work your way up the boot.
*Be sure to take your time in attaching the sole and the top. If you go to fast, the sole may end up not lining up in the end. Also, if you do to much of one side at once, it will be difficult to reach your fingers inside the boot to adhere the rest of the sides.


Once the sole of the boot is attached, move on to the back.

Assemble the heel as shown:

And adhere to the bottom of the boot. I like to line up the back edge of the heel and the boot to make a nice flowing curve.

And that's it! There are so many ways to dress this up! I'd love to see what you come up with!

So how many remakes did you have to make before you got i as perfect as in the picture? I find it impossible to put/hold together and it gets crooked. Am I using the wrong kind of cardstock or is my size wrong? I had to give up on it last night - something I usually do not do!
ReplyDeleteI guess I got my practice in the 5 or so remakes I did with the prototypes. When creating my final products of these boots, I went VERY slow. I attached a few tabs at a time and then moved to the other side and did the same. Back and forth until I reached the top.
DeleteThe size you receive, I believe, is the size I sent to Silhouette. I don't think they resize the files. It is the size I made mine, so it should work.
I hope that helps. Sorry I am just getting to your comment. There are a few I didn't see until now.
Mine turned out great - I love it! The toe was a bit tricky, but I got it to work - super cute!! Where can I get the others in the series you mentioned?
ReplyDeleteSo happy to hear that it worked! It can be a little tricky, but I'm glad to hear you conquered it. I wasn't able to get the other witch shoes put together and finished in time, so they won't be out this year. I will have an elf shoe for December coming out soon. It uses the same basic idea, so keep an eye out for that.
DeleteI just completed ONE boot. Came out great. MY SECRET is to glue the tabs around the OUTSIDE of the boot sides. Then I cut a 2nd set of boot sides and glue them over the tabs. That said, I was hoping to make more but one took a really LONG time. Love your files!
ReplyDeleteThat is a GREAT IDEA! Also that way you won't see the tabs on the inside of the boot. Thank you for that great idea, I will surely try it!
DeleteHi there,
ReplyDeleteI made these for a blog hop that I was a part of (Xyron and Doodlebug).
Here's a link to my blog with the boots.
http://www.myandmythoughts.blogspot.ca/2013/10/doodlebug-xyron-team-up.html
Thanks for an awesome cut file and tutorial.
is there somewhere i can get the template to cut the boot.. where is the site i go to. i love this great idea for treats for prek
ReplyDelete