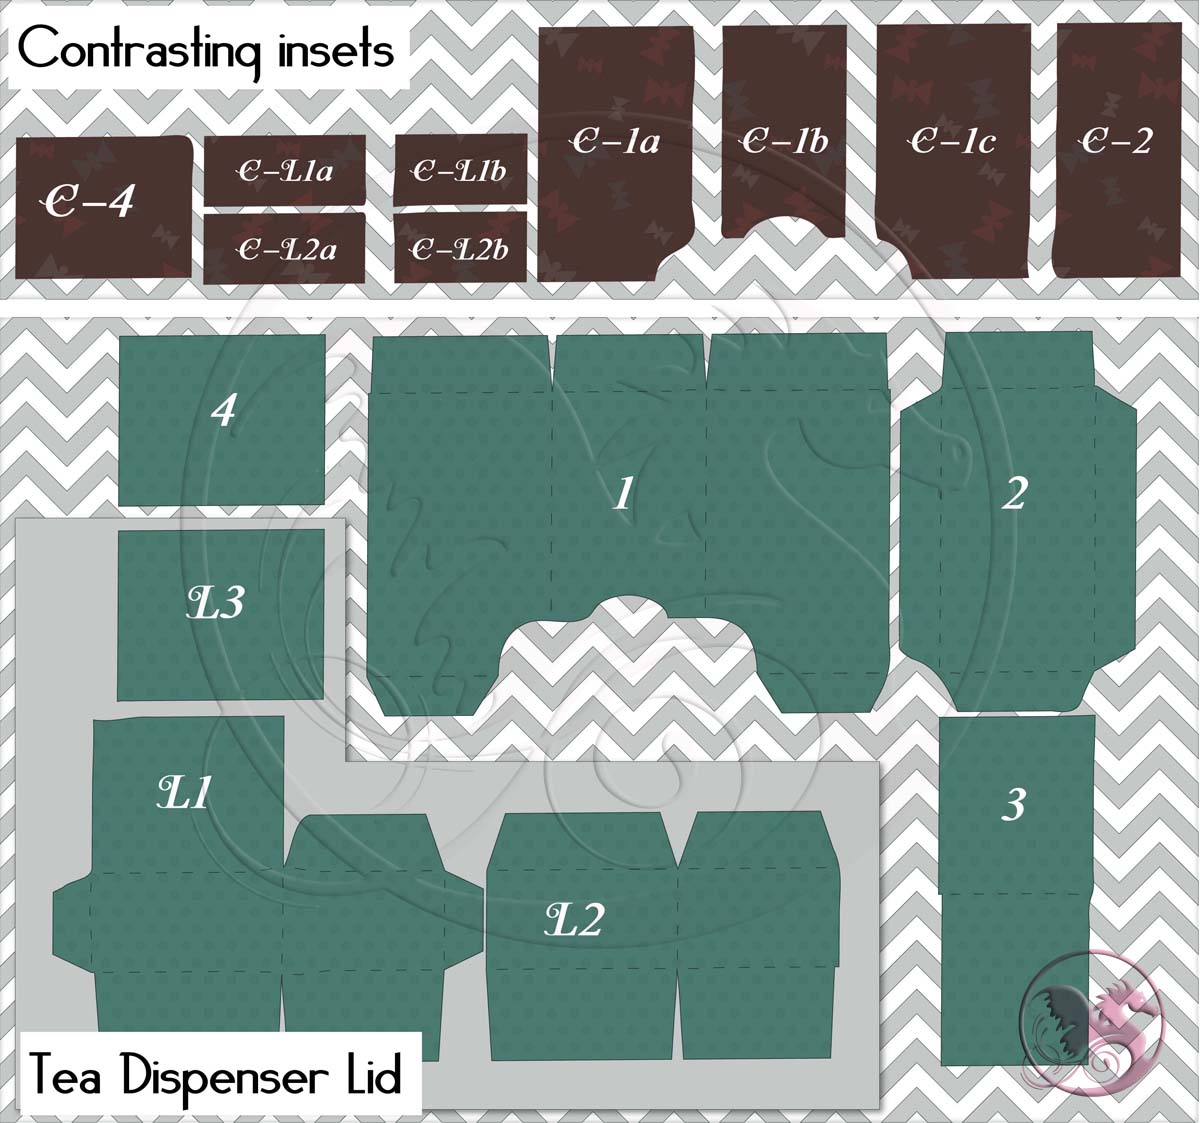
These new boxes are a little different than earlier ones in that I've included contrasting shapes if you'd like them. They inset about a .25 inch if cut to original size. When your design comes into Studio, it will be set up as follows:
*CONTRASTING SHAPES are grouped together at the top. (These are labeled with a "C" for contrasting, and then the shape they correspond to.
For example: "C-1a" corresponds to the first panel of shape "1". And "C-L1a" corresponds to the first panel of "L1".)
If you are not interested in adding a contrast to your Tea box, just select and delete. (In some versions of Studio, you must ungroup the design at least twice for it to work. Not sure why, just one of those flukes I guess.)
*LID SHAPES are in the grayed area on the bottom left. Labeled in the diagram with an "L".
*SHAPES FOR THE BODY of the box are what remain in the middle.
Now to get started, I crease all folds toward the inside before I even begin assembling.It makes things easier as I go along.
LID ASSEMBLY
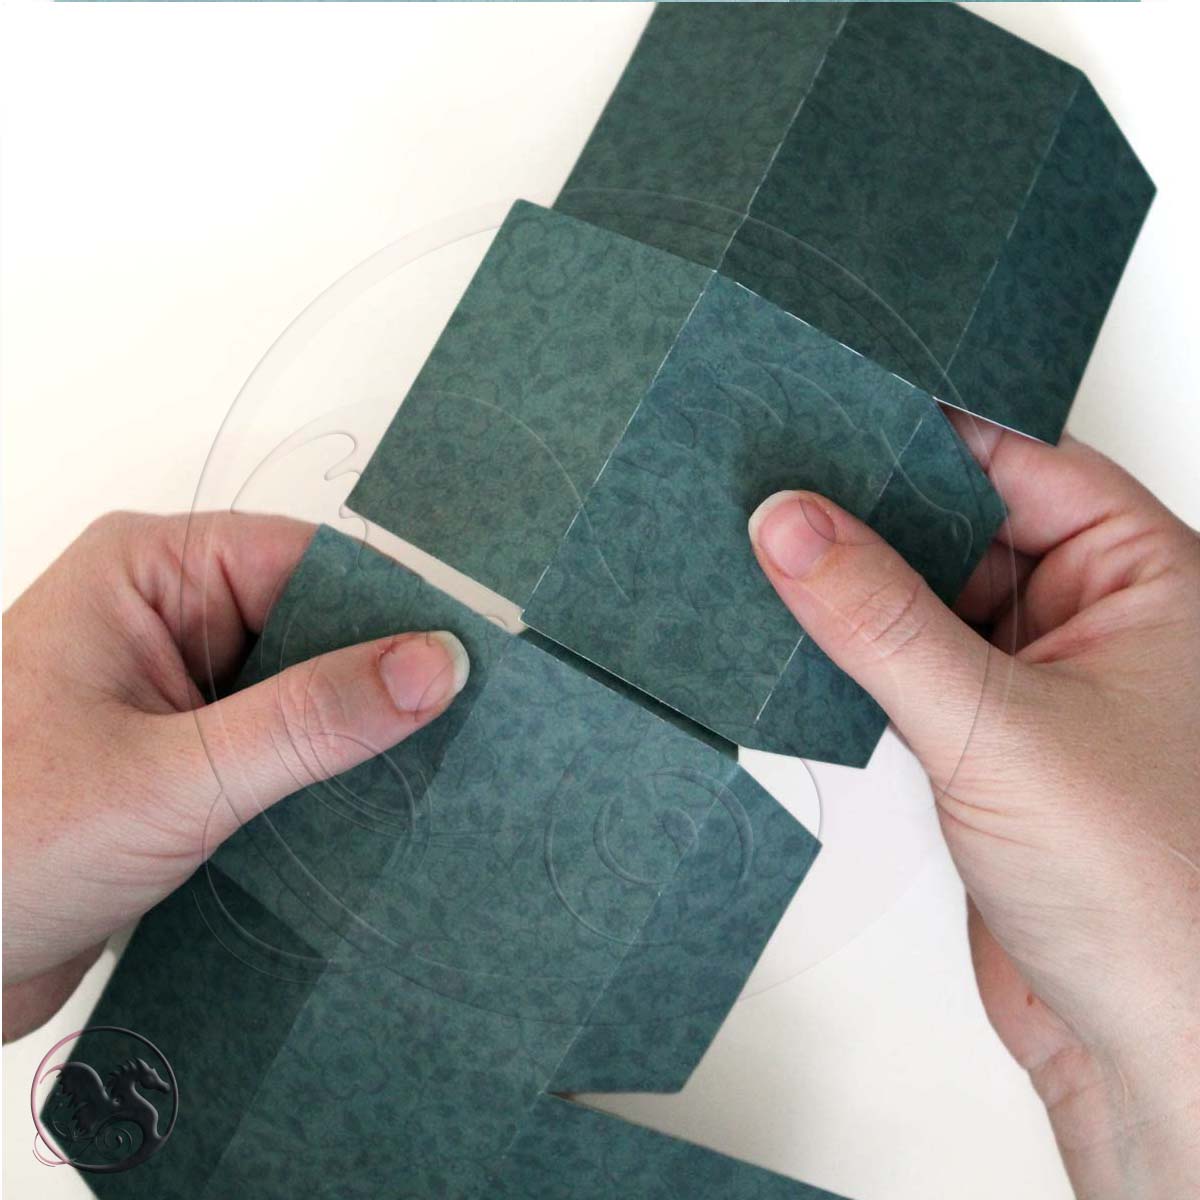
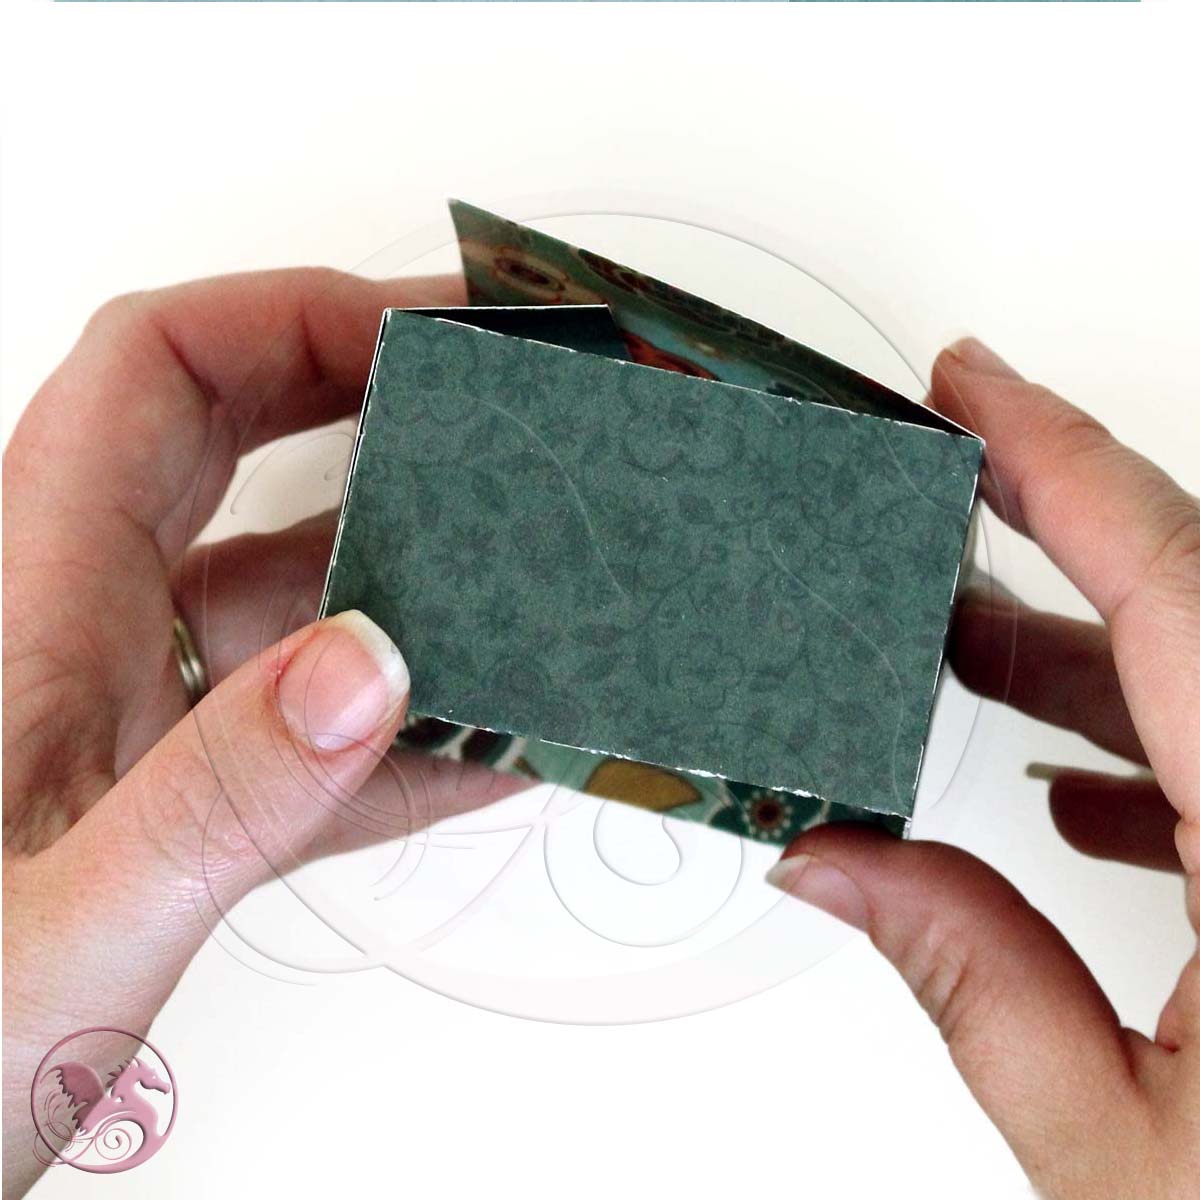
1. So to start with grab shape "L1" and "L2". connect tab as shown below. Be sure that the large flaps are all on the same side. (We'll use these in the next step, so if you aren't sure which flaps I'm talking about, you may want to scan ahead. Also, in the photo, they are the ones under my left thumb.)
Connect the opposite tab of "L1" to the other side of "L2" to create a square ring.
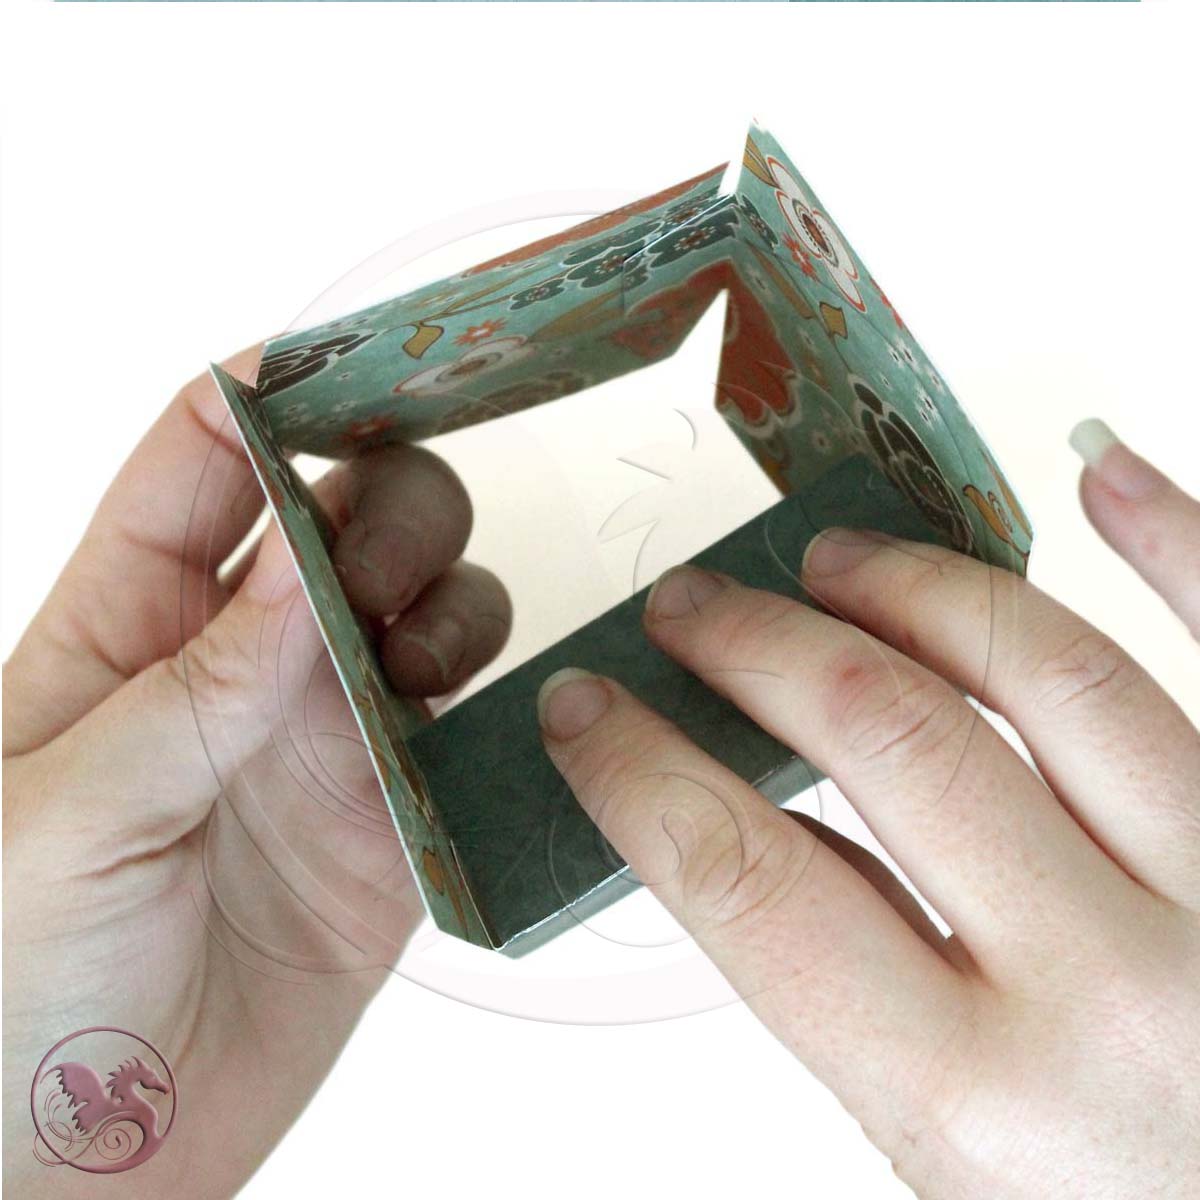
2. This is where we use the large flaps. Once you have your "ring" made, simple fold the large flaps inward and secure with adhesive. The purpose of these is to reinforce our opening. If you don't like them, cut them off. But I think it makes the box sturdier.
3. The last step in the lid is to fold the available square from "L1" down as shown, and then adhere the cap (L3) centered on the top.
BOX BODY ASSEMBLY
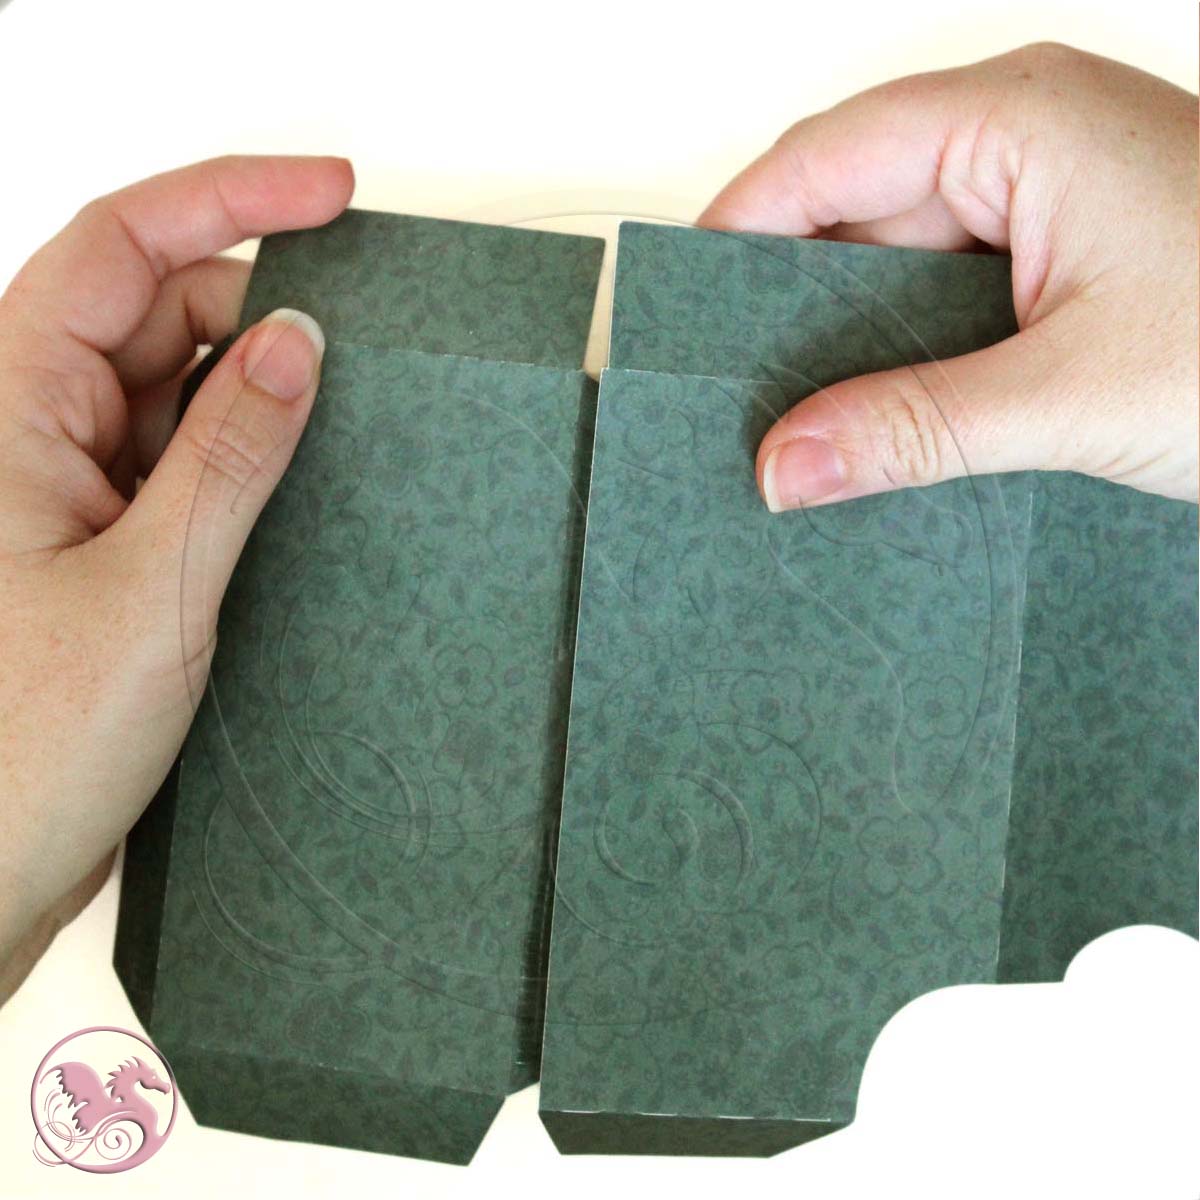
1. To start, adhere the long tab of "2" to the long side of "1" once again, making sure that your large tabs are on the same end for both pieces.
Like the lid, adhere the other long tab of "2" to the other side of "1" to create a ring.
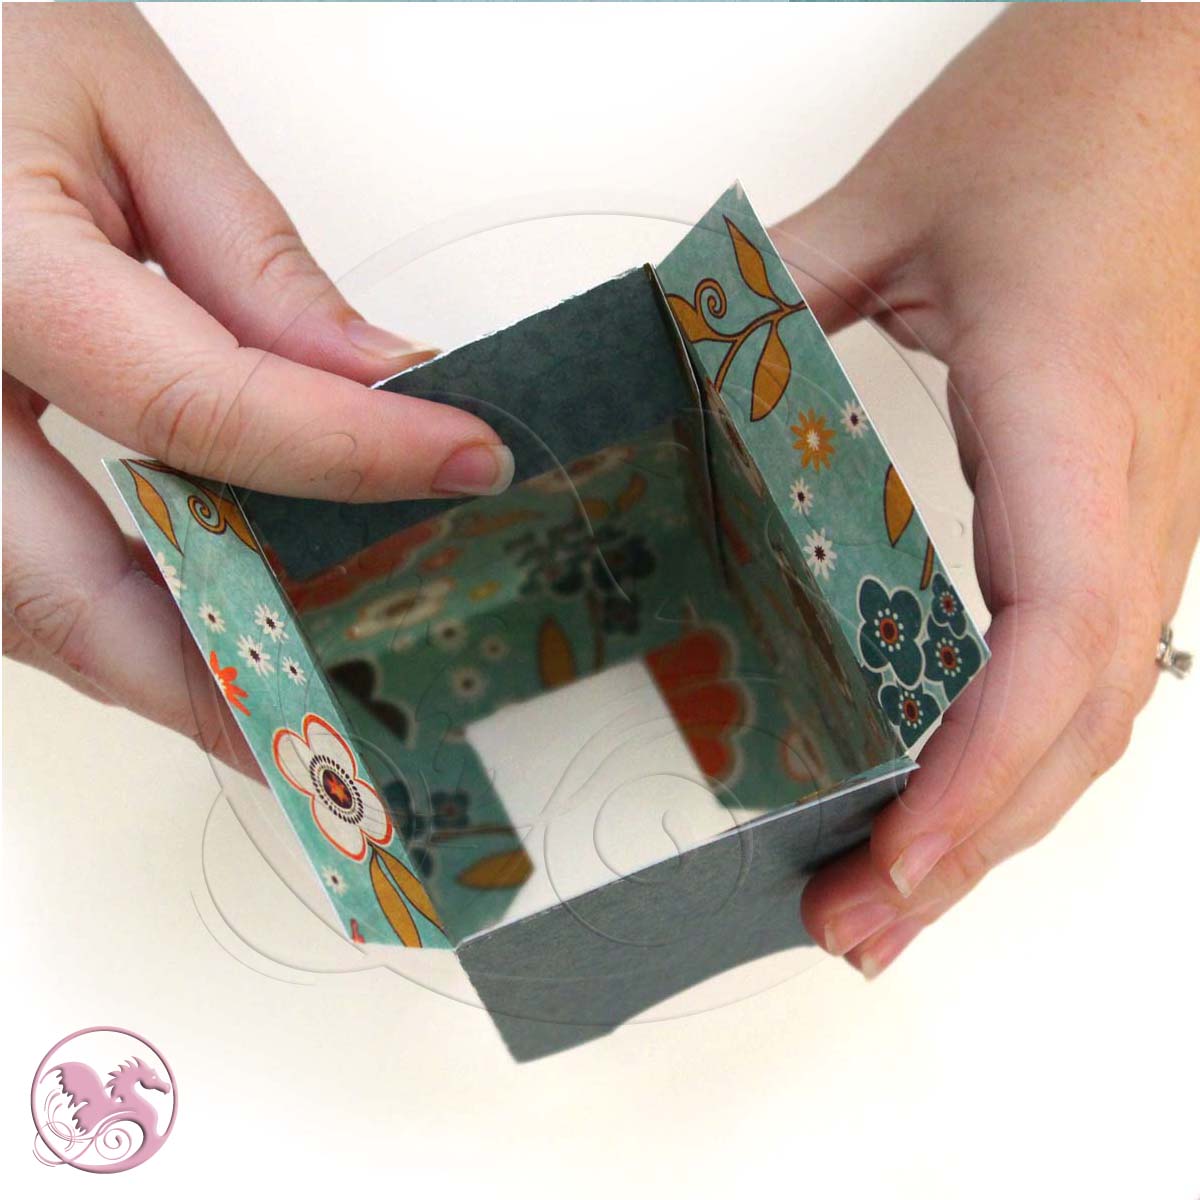
2. Just like on the lid, once you have your "ring" made, simple fold the large flaps inward and secure with adhesive.
3. Now you will need to add the bottom of the box. Take what you've done in the last 2 steps and add "3" to the flaps you have left. Be sure on this step that when you adhere "3" that you are using the larger end. It really is only larger by about a eighth to a sixteenth of an inch, but it's important.
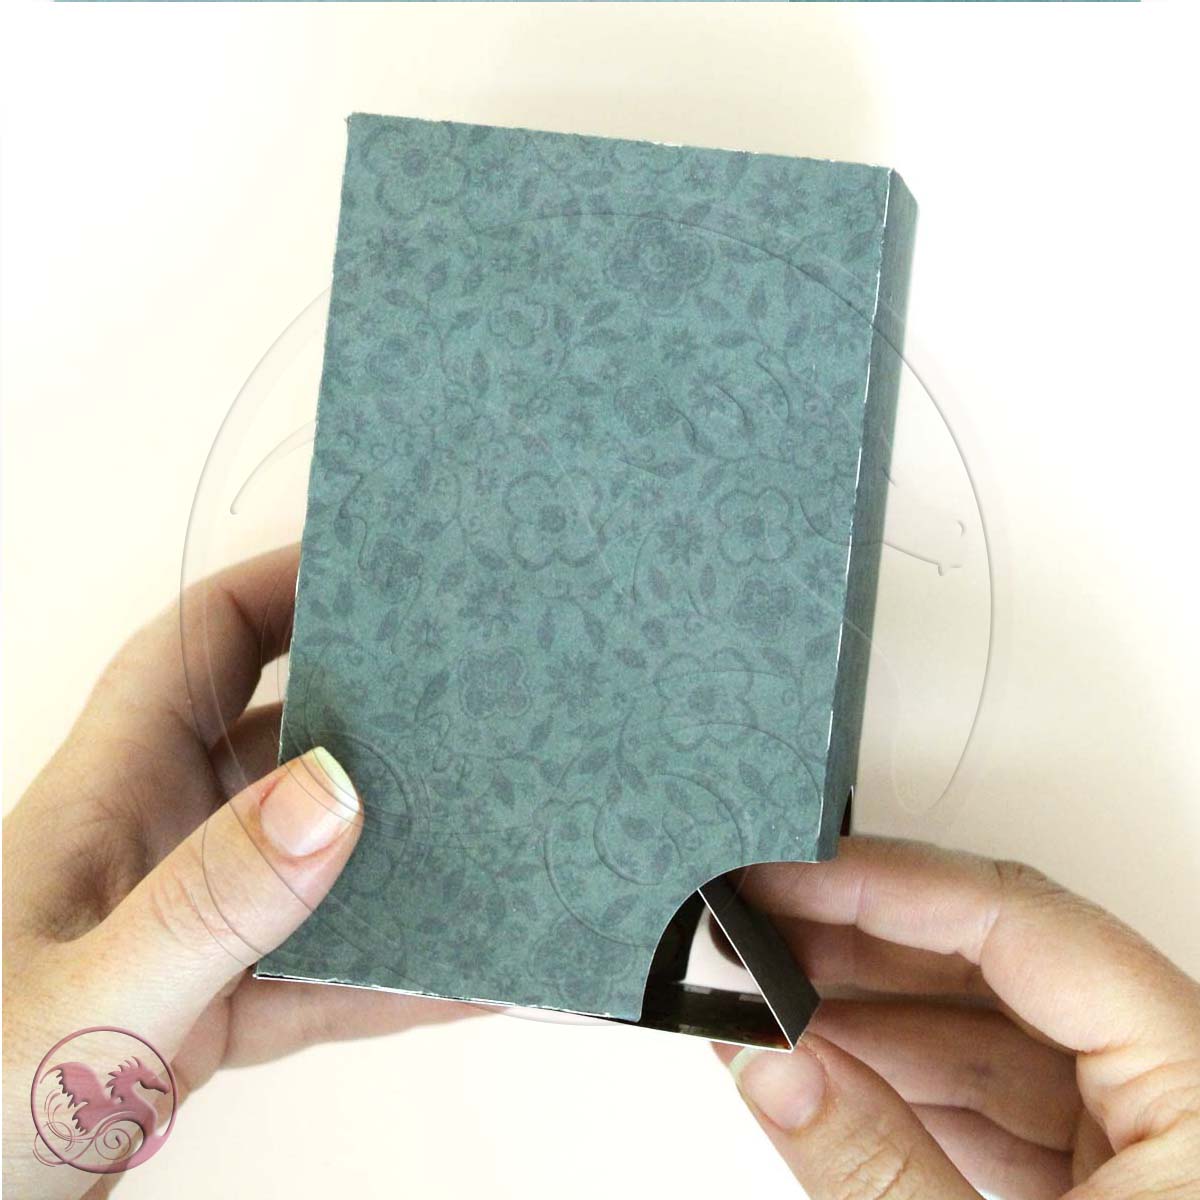
3. Next, fold the small end of "3" that is still available and fold it inside your box and adhere over the tabs of shapes "1&2" as shown. The purpose of this, is to hide our tabs from view and to give a sturdier base.
2. Once "3" is in place, all you have left to do is add the cap "4" centered on the bottom.
To finish, adhere the contrasting pieces to their respective panels.
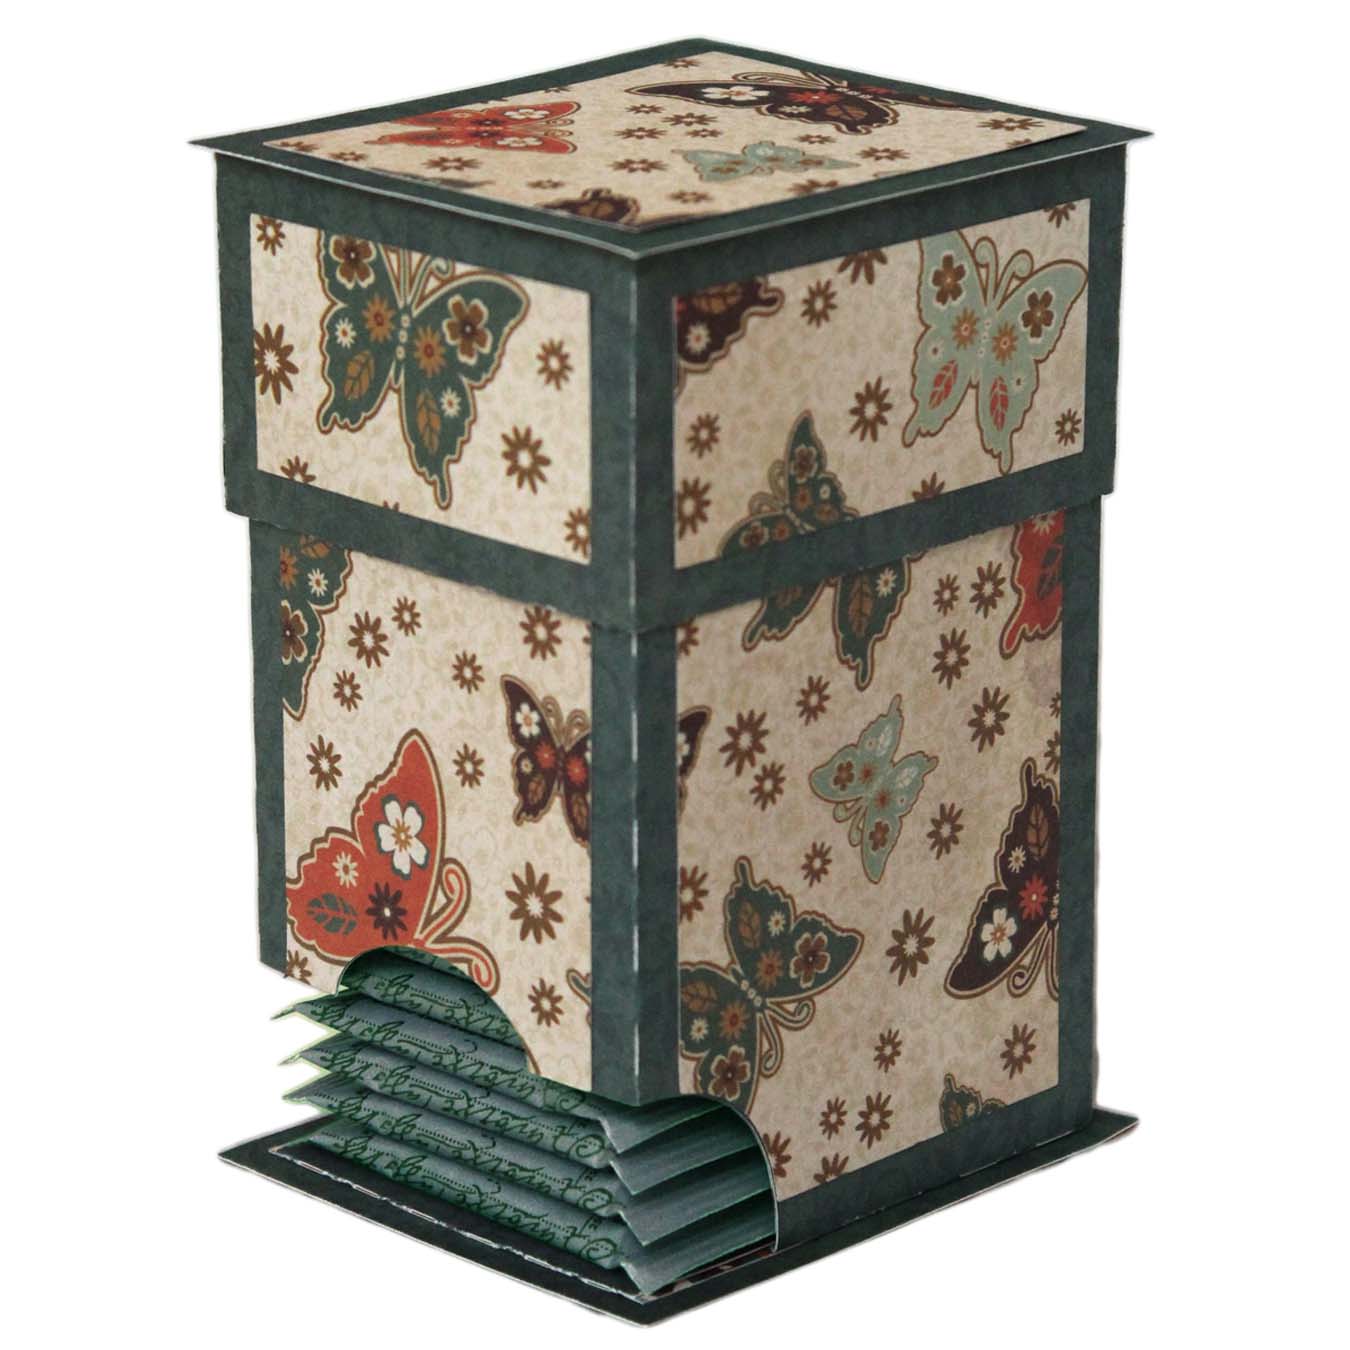
And you have your beautiful tea box ready to be filled with those fragrant packets.