

Most of the boxes with handles I've made available to the Silhouette Online store will follow the following assembly instructions. This includes:
- 3D handled box - heart (single heart window
- 3D handled box - hearts (2 welded hearts window)
- 3D handled box - lace (artisan looking lacey window)
The "3D heart handled box" is the only one at this time that's a little trickier, but it assembles the same. I'll let you know the tricky part on that box when we get to it, but for now, follow the tutorial below for it as well.
Step 1
Crease all folds except the handles toward the inside. Handles fold towards the outside.

Step 2
Apply adhesive to tab on side, fold box around and attach tab to other end like photo below:

Step 3
Fold bottom tabs in.

Step 4
Tuck bottom round tab into slot.

Bottom should now look like this:

Step 5
If assembling one of the boxes with a window, attach cellophane or transparency material across the window on the inside. I usually roughly outline the window on the inside and place a square piece of thin *overhead transparency across the adhesive and window.*You can find overhead transparency at most office supply stores.
Step 6
Fill box with goodies, gifts, or a special message.Step 7
Fold down sides with handles so the handles meet in the middle.

Step 8
Fold over the side that does NOT have the round tab connected, making sure the handles slide into the slit.
*This is the tricky part I told you about if you are assembling the "3D heart handled box". You have to gently push and bend the handle to fit through the slit. Be sure to work it through gently.


Step 9
Fold the other side over and tuck the round tab into the slit on the other side.

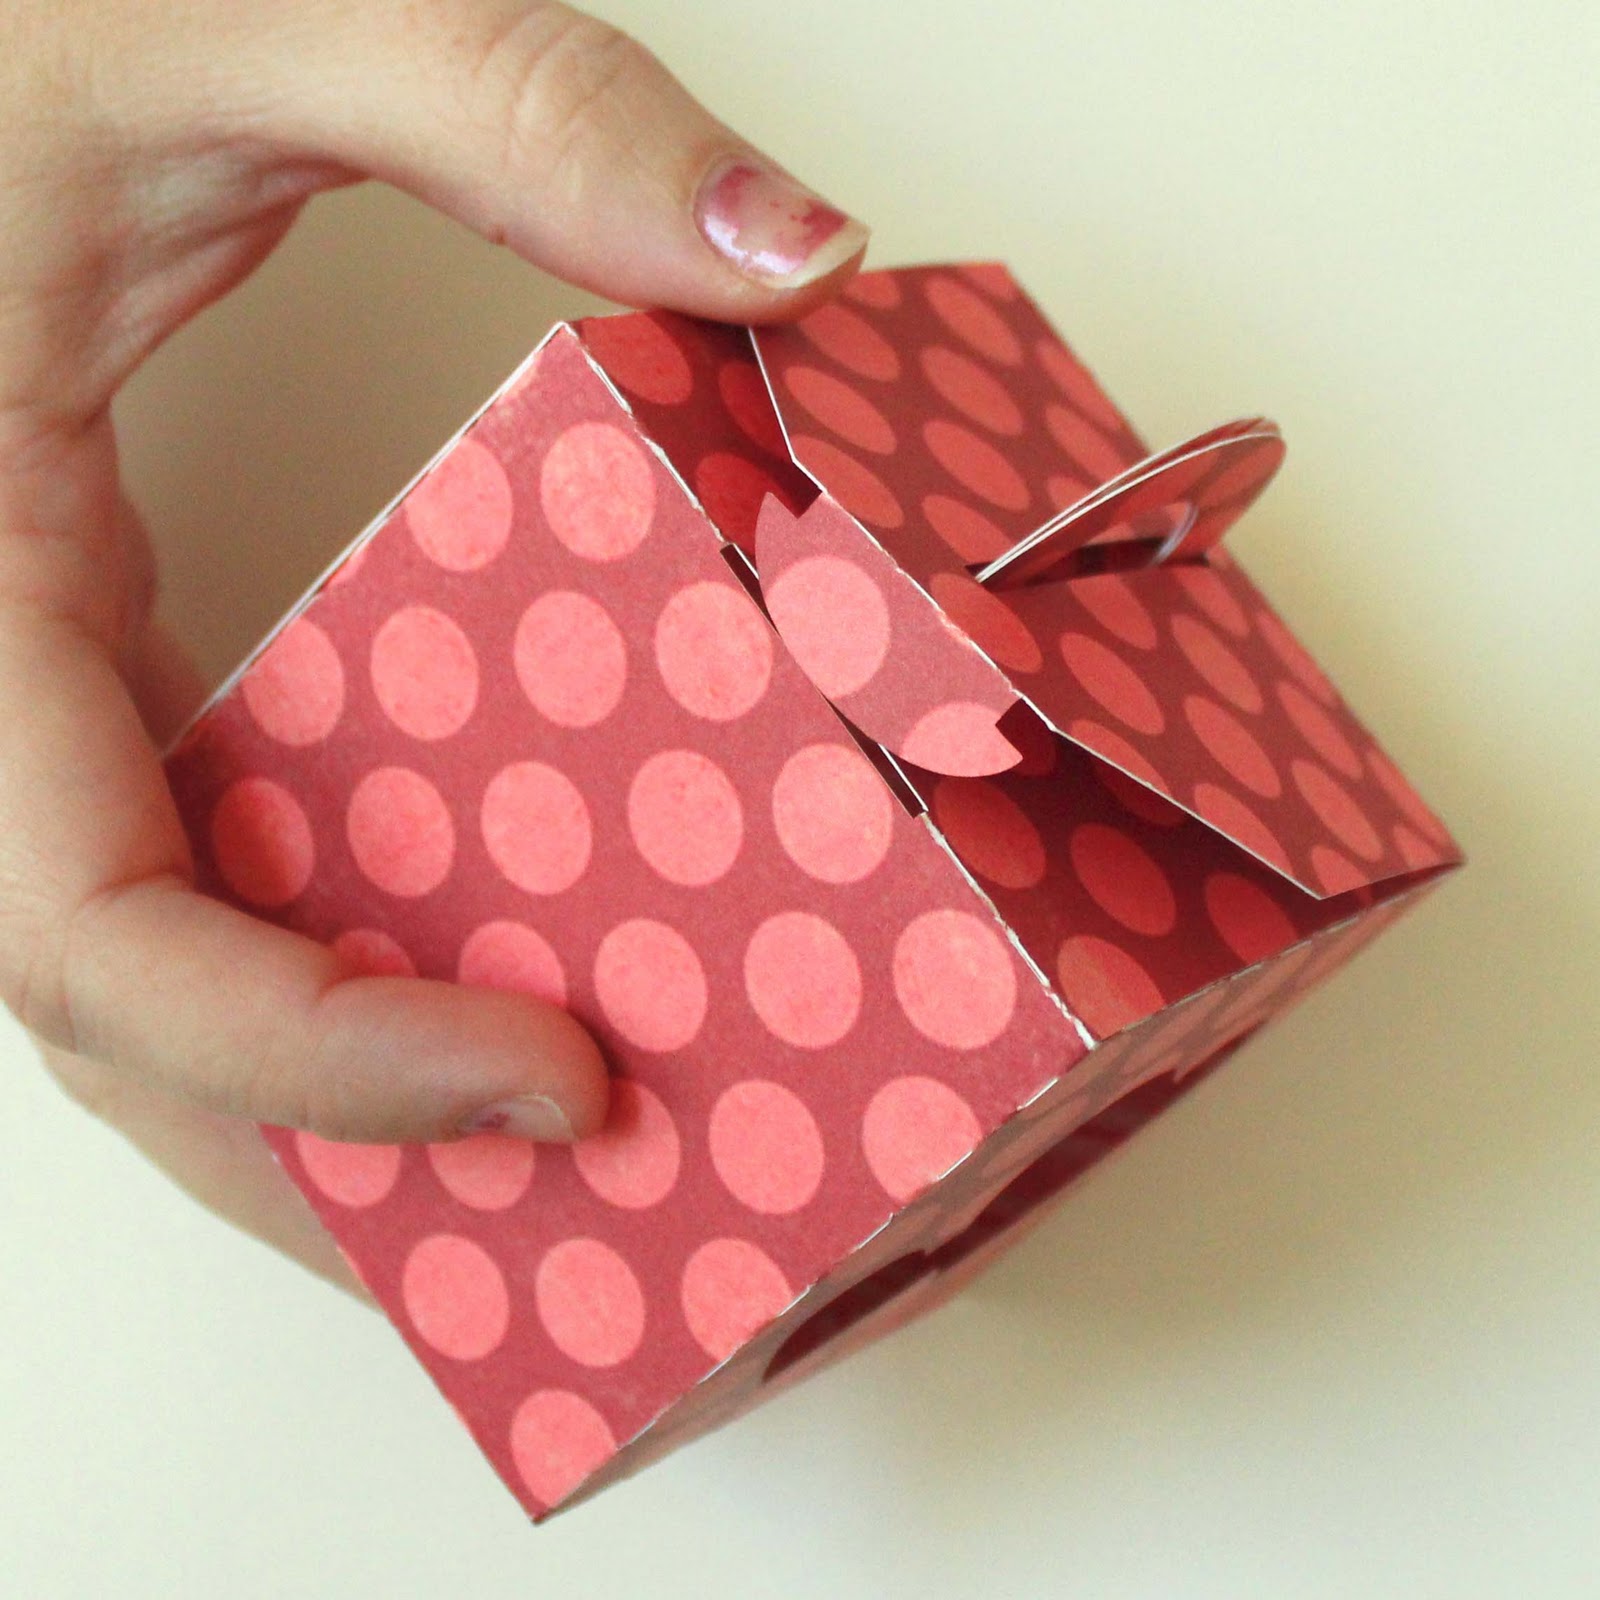
And your done!


